![Trustero_Logo_RGB_1C.png]](https://support.trustero.com/hs-fs/hubfs/Trustero_Logo_RGB_1C.png?height=40&name=Trustero_Logo_RGB_1C.png)
A custom user role decides which features people can use. To go further and decide which records they can see, combine the role with user groups and labels. Each group is allowed a set of labels, and the role's data access is set to Controlled by Label, so members see only the records that carry one of their group's labels.
This article builds on the Basic User role from Custom User Roles for Feature Access. We'll create two groups, GRC Users and Risk Users, give each a label, and limit Basic Users to the controls labeled for their group.
Before you begin
- You must be an Admin to manage user groups and roles.
- Create the labels you want to use first. This example uses GRC Team and Risk Team.
Step 1: Create the user groups
Open Users and select the User Groups tab. A user group gives a set of users access to the same labeled records.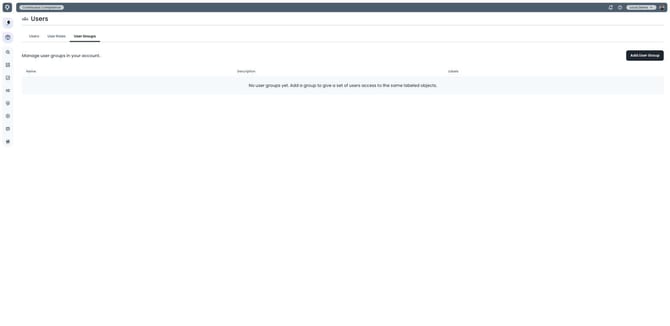
Click Add User Group. Enter a Name (here, GRC Users) and an optional Description, then choose the Members. In this example, John Doe is added to GRC Users.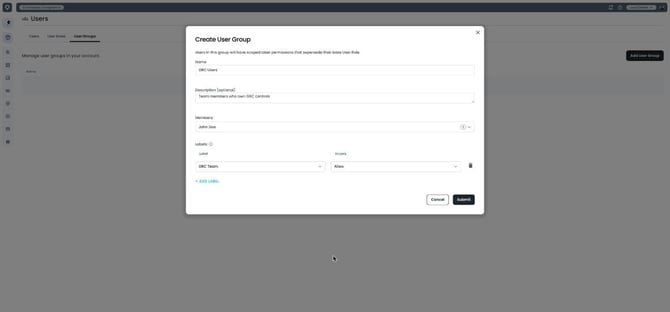
Under Labels, click Select Label and choose the label this group can access. For GRC Users, choose GRC Team.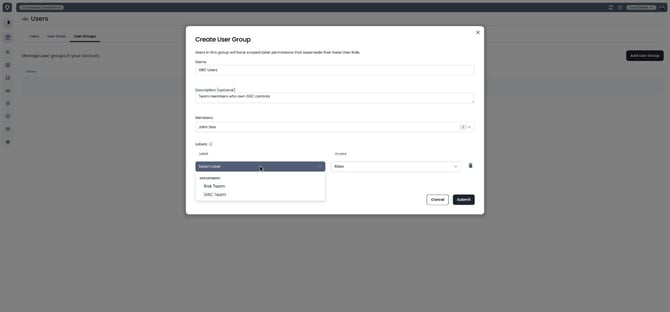
Leave Access set to Allow. You can also choose Deny to keep the group away from records with that label. Click + Add Label if the group needs more than one.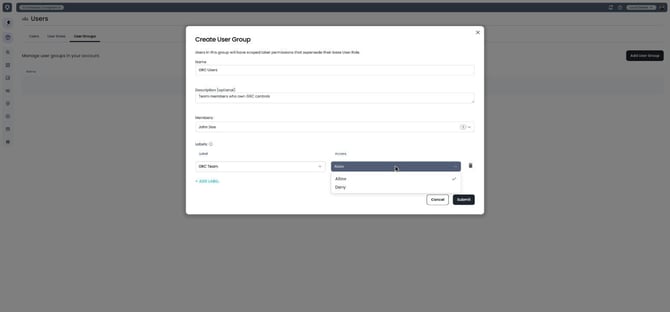
Hover the info icon next to Labels for a reminder of how this works: an allow label lets the group act on records carrying it, and a deny label blocks them even when another of the group's labels allows them. Click Submit to create the group.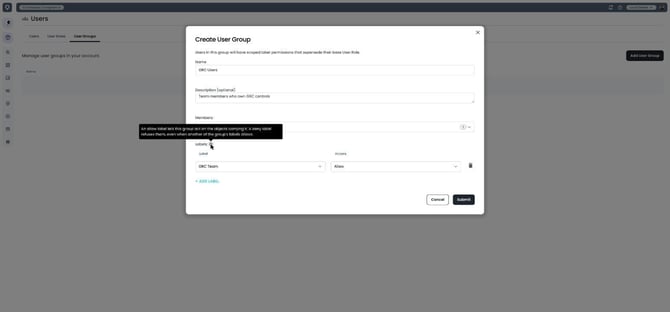
Repeat for Risk Users: add Jane Doe as a member and allow the Risk Team label.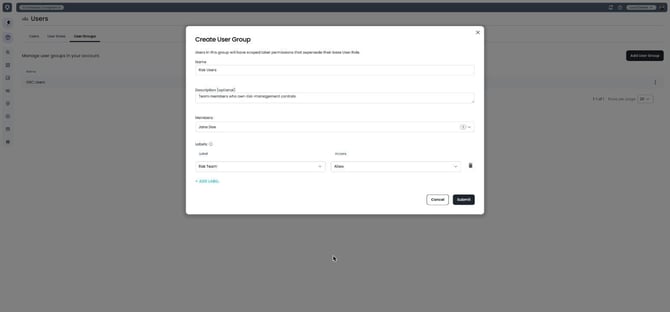
Both groups now appear on the User Groups tab, along with their labels.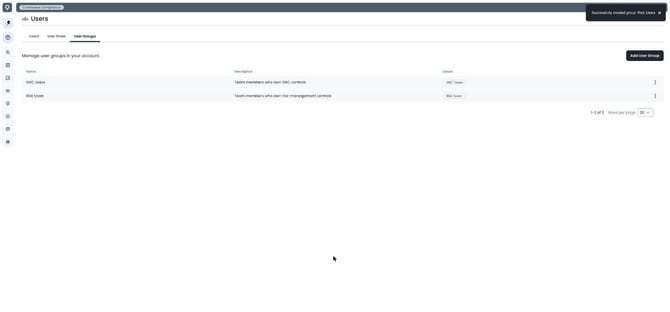
On the Users tab, the Groups column shows each person's groups: Jane Doe is in Risk Users and John Doe is in GRC Users. Both are assigned the Basic User role.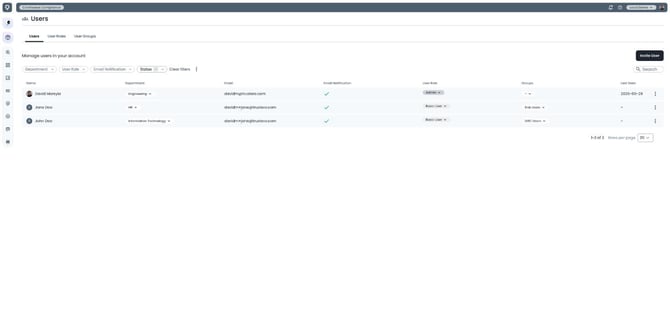
Step 2: Set the role's Controls access to Controlled by Label
Open User Roles, click Basic User, and expand Controls. By default, Control Record Visibility is set to Allow, so members see every control.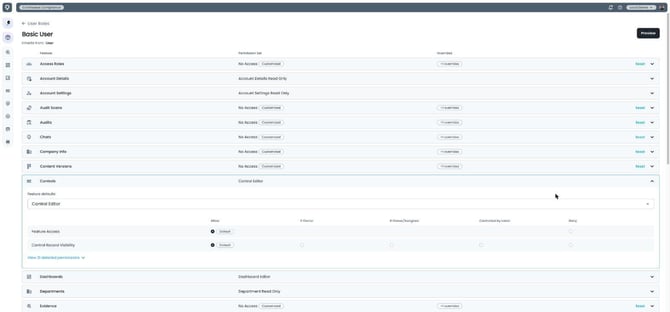
Select Controlled by Label. The change saves right away, and the Controls row shows an override. Members of this role now see only the controls that carry a label one of their groups allows.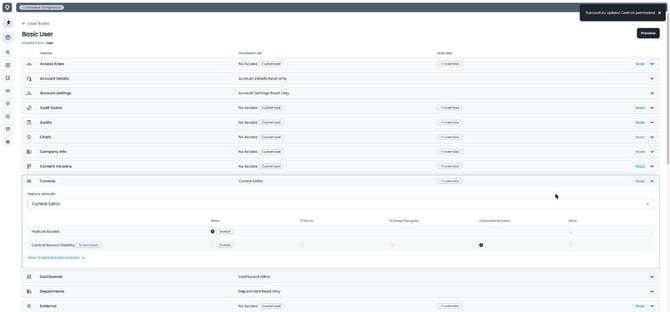
Step 3: Label your controls
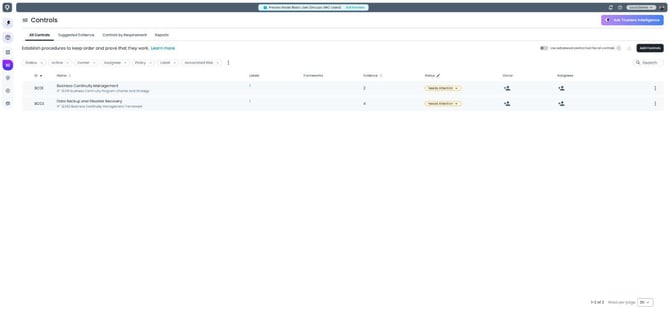
Go to Controls. The Labels column shows how many labels each control has. In this example, AU01 already carries Risk Team and BC01 carries GRC Team, while AU02 and BC03 have no labels yet.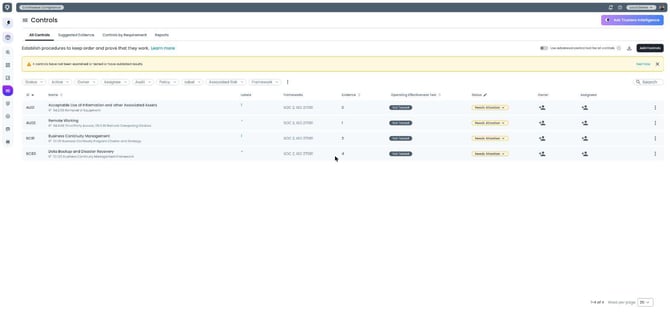
Open a control and click Labels in its header. Select the label and click Update. Here, AU02 gets Risk Team. Repeat for BC03 with GRC Team.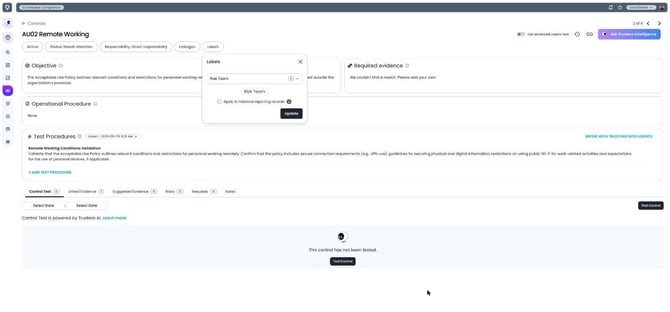
All four controls now carry a label. As an Admin, you still see every control.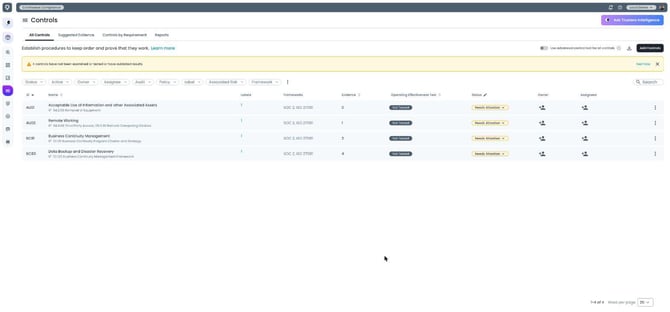
Step 4: Preview what each group sees
Return to the Basic User role and click Preview. Under User Groups, select Risk Users, then click Preview.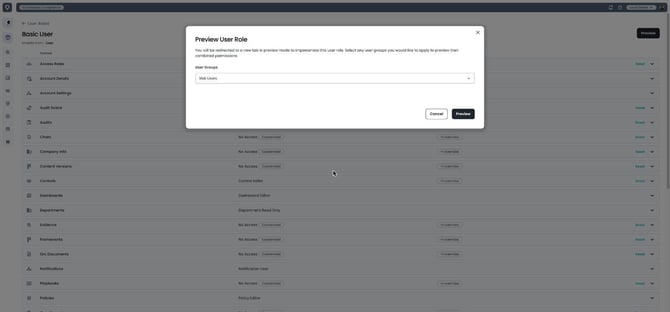
In the preview tab, open Controls. With Risk Users applied, only AU01 and AU02, the Risk Team controls, are listed. This is what Jane Doe sees. The banner at the top shows the role and group being previewed.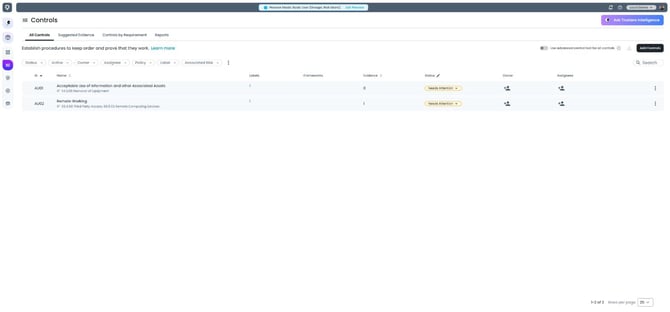
Click Exit Preview, then start a new preview with GRC Users selected.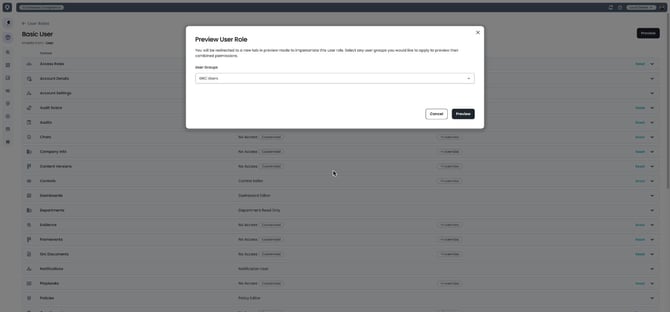
Now only BC01 and BC03 are listed. This is what John Doe sees. Someone in both groups would see the controls allowed by either group.